Each lab will consist of a small problem and details of how to proceed. Each lab is intended to give every student hands-on experience with the core concepts and technologies covered during the course. A student may concentrate, as a team member, on one technology over another for the final project, but labs are designed to give each and every student exposure to all the technologies that come into play. You need to submit labs to the TAs for grading--see submission instructions below. Generally, unless otherwise specified, you will have one week to complete each assigned lab.
See the syllabus for information on grading. Turning in lab assignments on time is required, without exception, and all late deliveries will be penalized, regardless of cause. Submit your assignments to the subversion repository according to the directions on the syllabus page.
You
may
write these solutions in any programming language of
your choice. Our suggestion is now is not the time to
learn a new programming language along with the concepts
themselves. So our suggestion is to use whatever
programming language you know best.
Lab 1
Due: 4:00 pm, Monday, June 26, 2023
SECTION 1: System Setup and
Bitcoin Software Installation:
BACKGROUND:
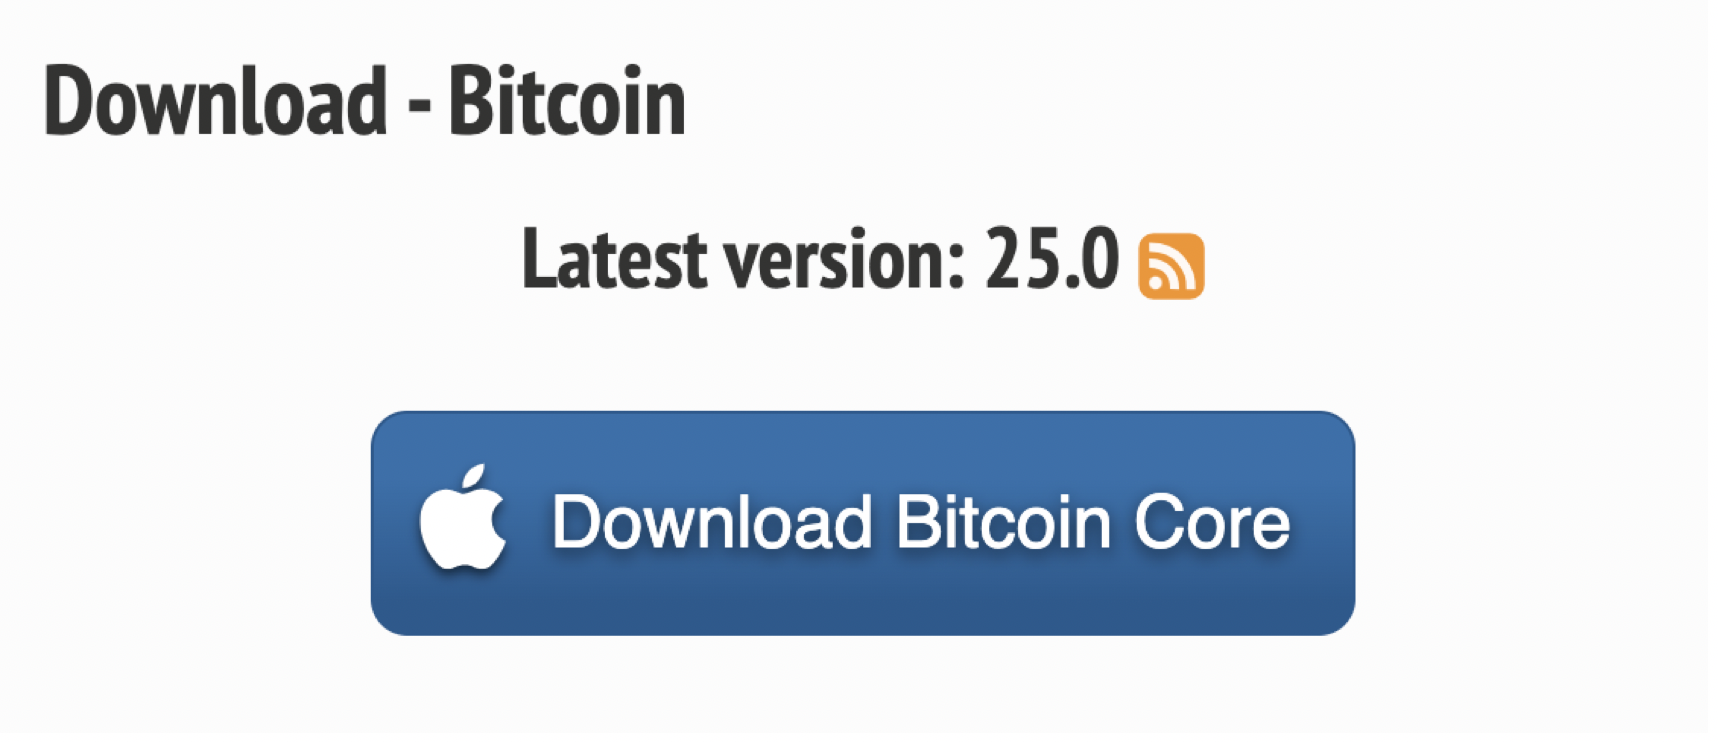
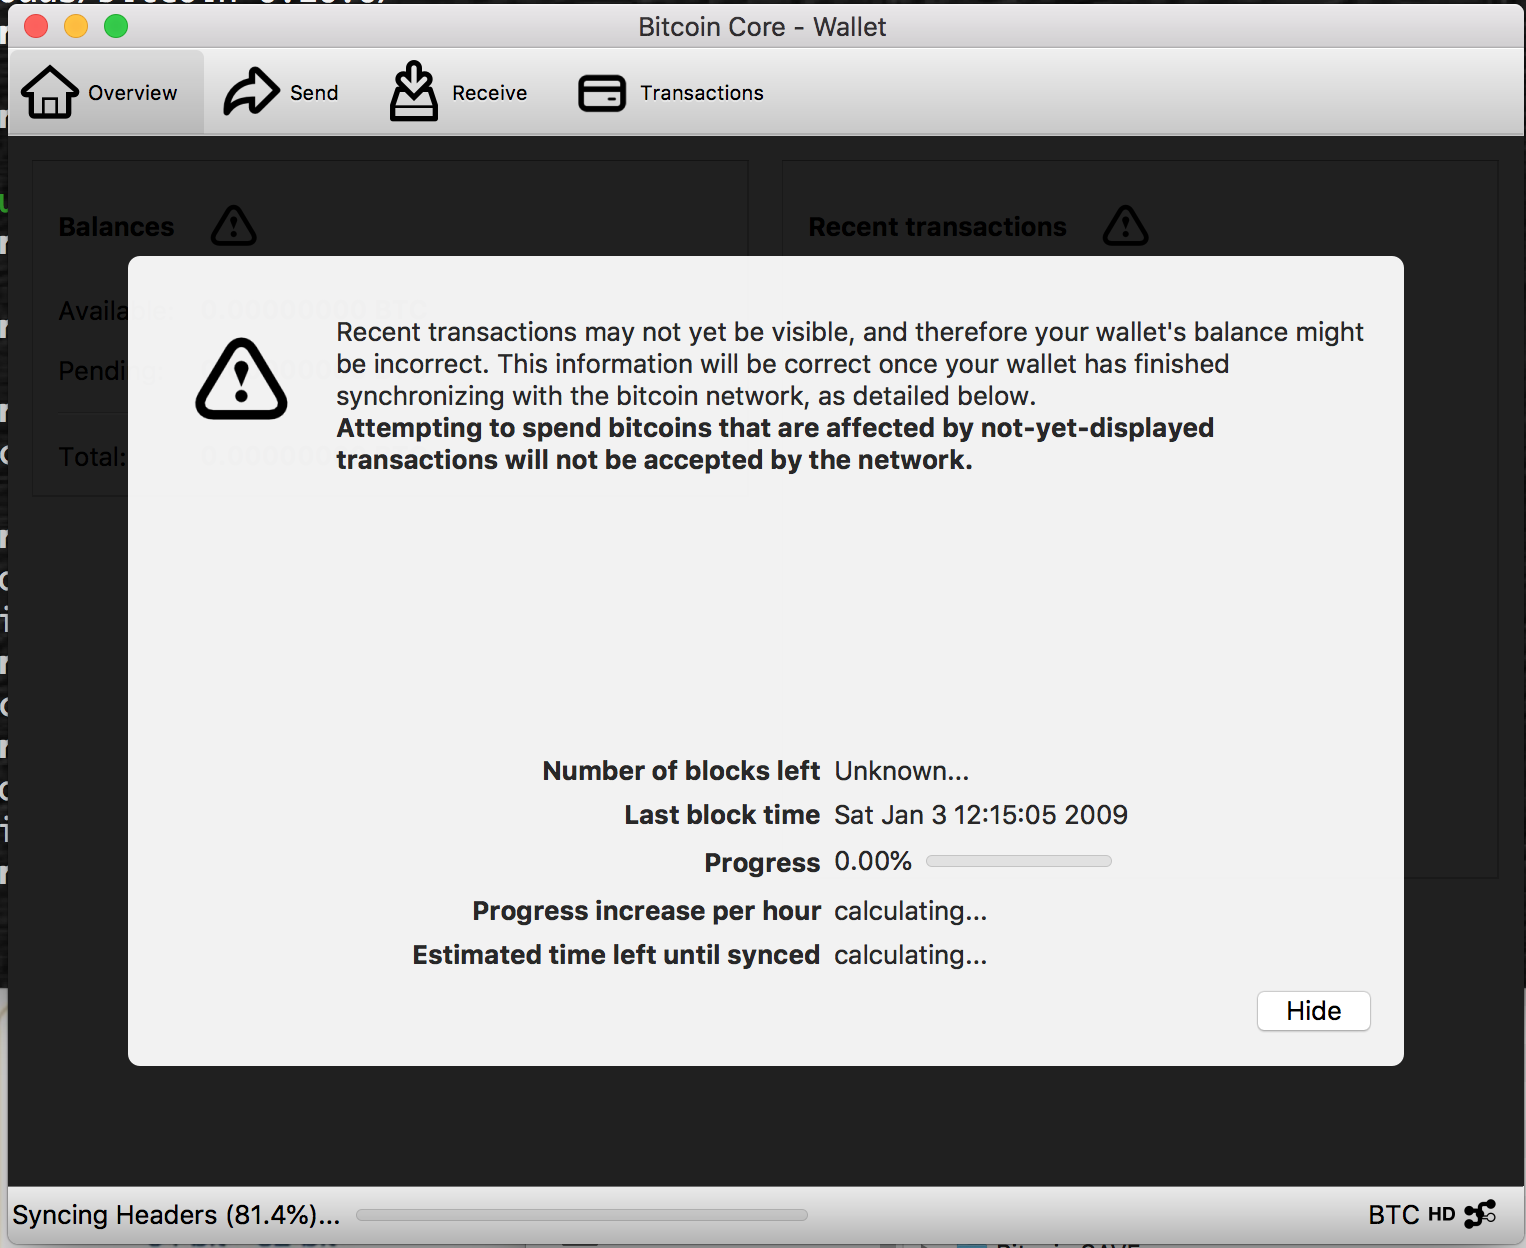
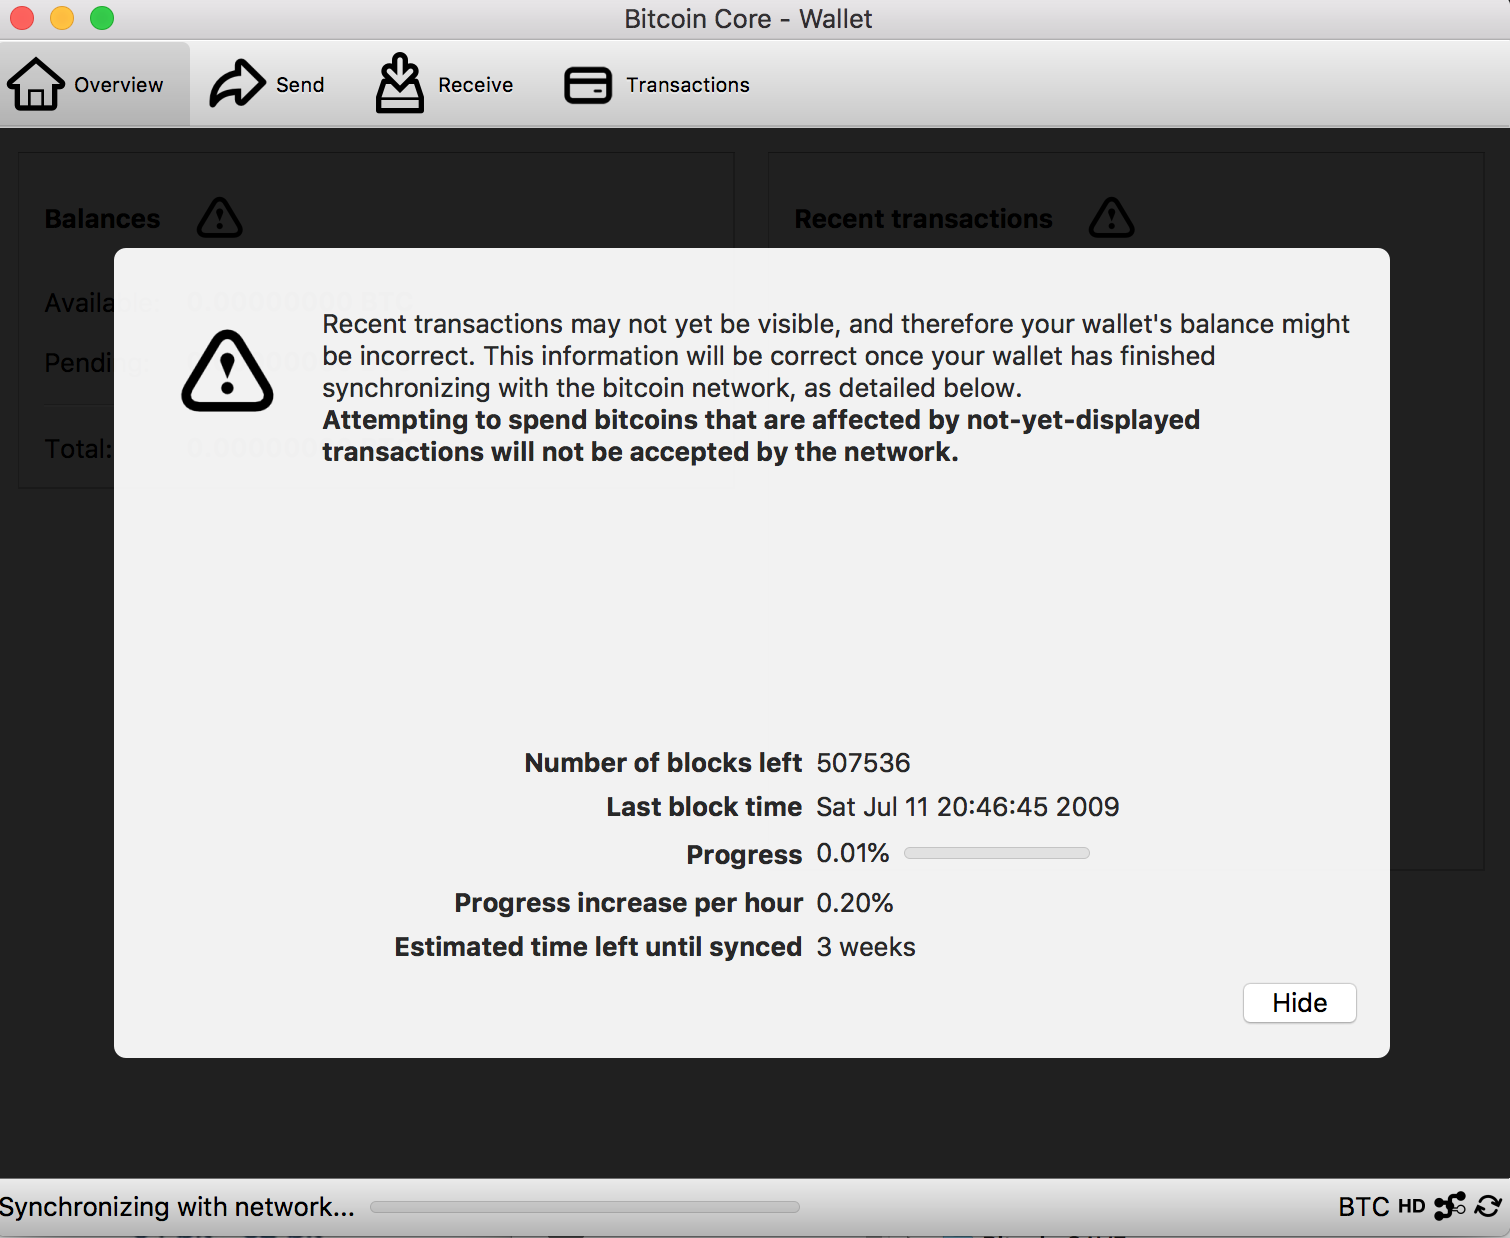
STEP 1: Installing
Bitcoin Core
STEP 1: Installing the Bitcoin Explorer toolset
STEP 1 Linux/Debian/Ubuntu/Xubuntu aptitude equivalent
# basic requirements
apt-get install g++ python3 git
apt-get install automake libtool pkg-config miniupnpc openssl
apt-get install libboost-all-dev
apt-get install curl
apt-get install wget
# more specific
apt-get install libevent-dev
apt-get install jq
apt-get install libzmq3-dev
# heavier and more specific
apt-get install libdb5.3
apt-get install protobuf-compiler
apt-get install qtcreator
STEP 2 Linux/Debian/Ubuntu/Xubuntu equivalent - compile from source
# install libbitcoin with one, big .sh install file.
$ wget https://raw.githubusercontent.com/libbitcoin/libbitcoin/version3/install.sh
$ chmod +x install.sh
$ sudo   ./install.sh

# ... then, install bx
$ git clone https://github.com/libbitcoin/libbitcoin-explorer.git
$ cd libbitcoin-explorer
$    ./autogen.sh
$    ./configure
$    make
$    sudo make install
First,
let's install node, truffle, and ganache:
We
need to make sure you have brew installed, because we will be
leveraging several brew installations. Install brew (if
you don't already have brew installed) by issuing this command:
/bin/bash
-c "$(curl -fsSL
https://raw.githubusercontent.com/Homebrew/install/HEAD/install.sh)"
Once
installed, update your PATH variable to include the brew command
path, for example:
/opt/homebrew/bin/brew
Then
restart your terminal(s) to include the newly-updated PATH.
To
make sure brew is available and runable:
$
brew list
(this
should show a listing of any brew installations. As long
as you see no errors you're all good.)
NODE:
Now,
let's install node version 16 (again, if you don't already have
it installed):
$
brew install node@16
You
should see a lot of downloading and fetching notifications,
pouring a bunch of dependencies, just give it a moment to
complete. You may see some moderate severity
vulnerabilities and instructions on running npm audit.
Ignore all this.
After
installing node, once again update your PATH to include the new
location of node (e.g., /opt/homebrew/opt/node@16/bin).
Again, restart your
terminal(s) to include the newly-updated PATH. At this
point, you should be able to verify the node version:
$ node --version
v16.20.0 [or something like this]
TRUFFLE [our build and testing environment]:
Now, let's use node to install truffle:
$ npm install -g truffle
This will install truffle tools under
/usr/local/bin/truffle (etc.). You should be able to
verify your truffle version:
$ npm --version
8.19.4 [or something like this]
You can also type:
$ which truffle
and see where your
truffle was installed:
$ which truffle
/usr/local/bin/truffle [or something like this]
GANACHE [our Ethereum playground]:
Now, let's install ganache:
Go to https://trufflesuite.com/ganache/ and under
the DOWNLOAD (MACOS) button, click on "Need another OS
download?". You will be taken to a github site.
YOu want to scroll down until you see "v2.7.1 Bug-Banishing
Baked Goods" and scroll down further and choose the file
"Ganache-2.7.1-mac.dmg". Wait for that file to download,
and then navigate to your download folder and launch the dmg
file.
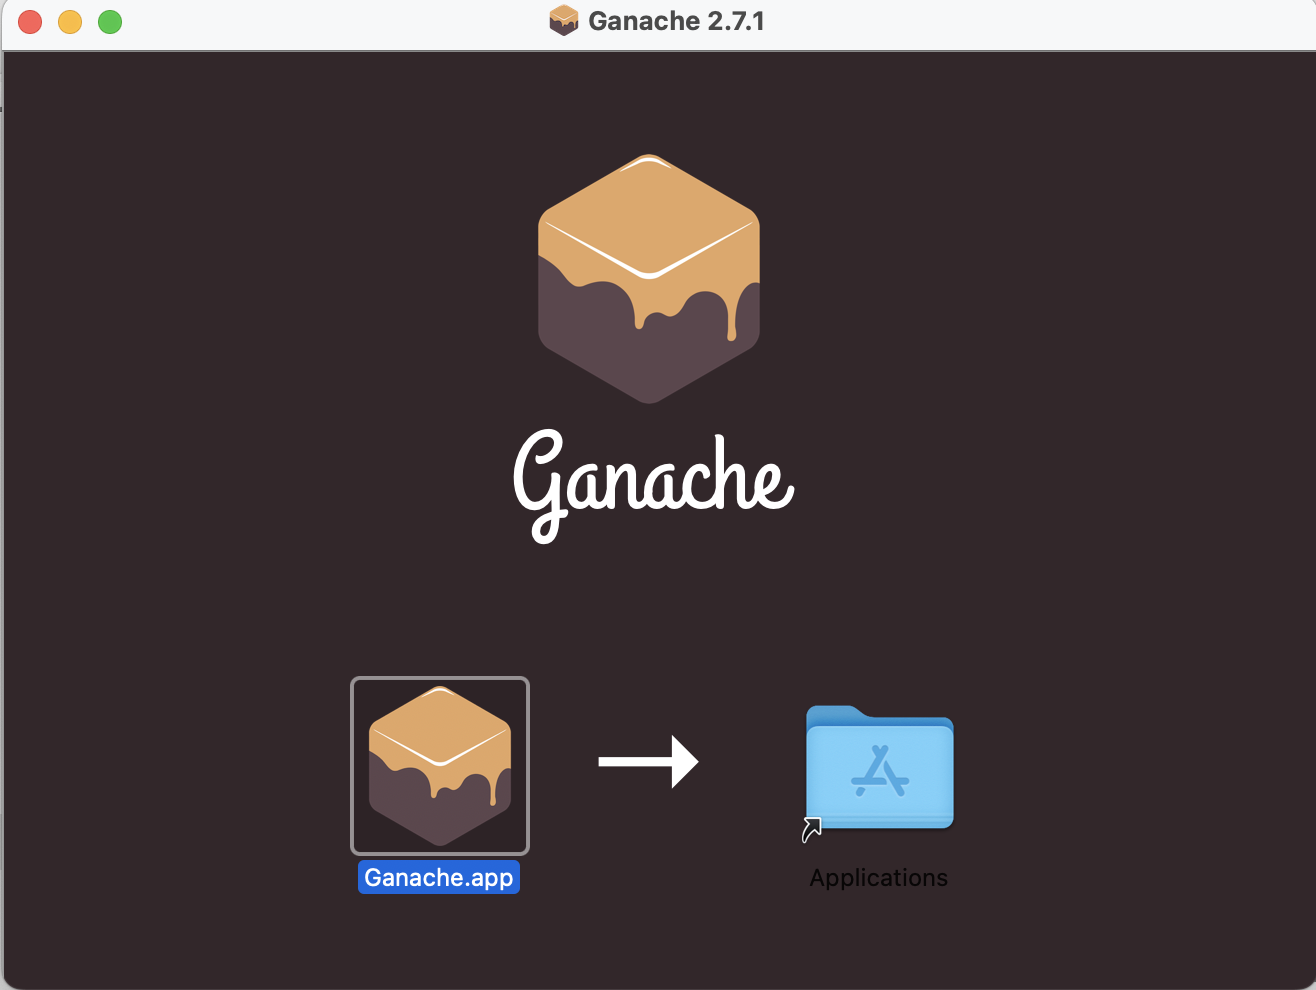
Now, simply drag and drop Ganache.app onto the
Applications folder.
Now, let's start ganache. Launch ganache and
if you get a warning that Ganache.app is an app downloaded
from the internet, just choose to Open it anyway. If you
see a Support Ganache screen, you can choose whether to enable
analytics or not (I don't), and then click on Continue.
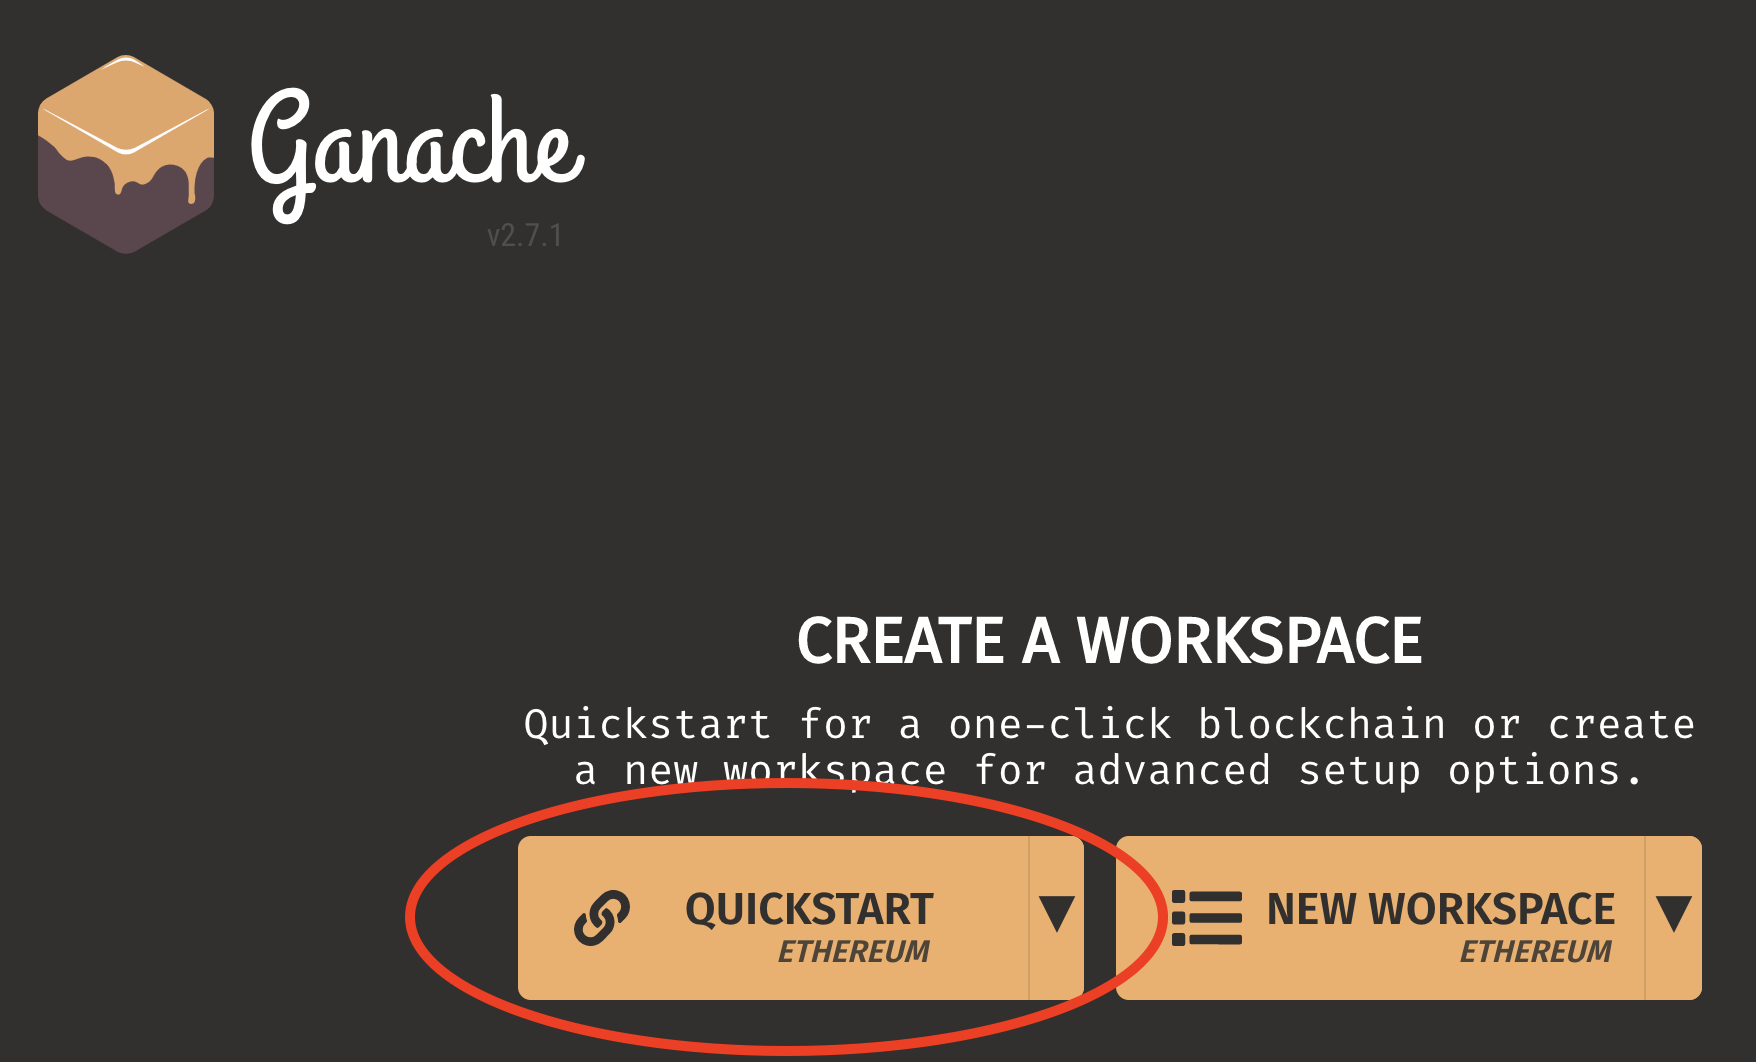
At this point, you will see the initial Ganache workspace
screen. You won't have any existing workspaces, so you
can simply click on "QUICKSTART ETHEREUM".
After a little churning, you will see the main
Ganache Ethereum Blockchain screen come up with a bunch of
account addresses and balances on it:
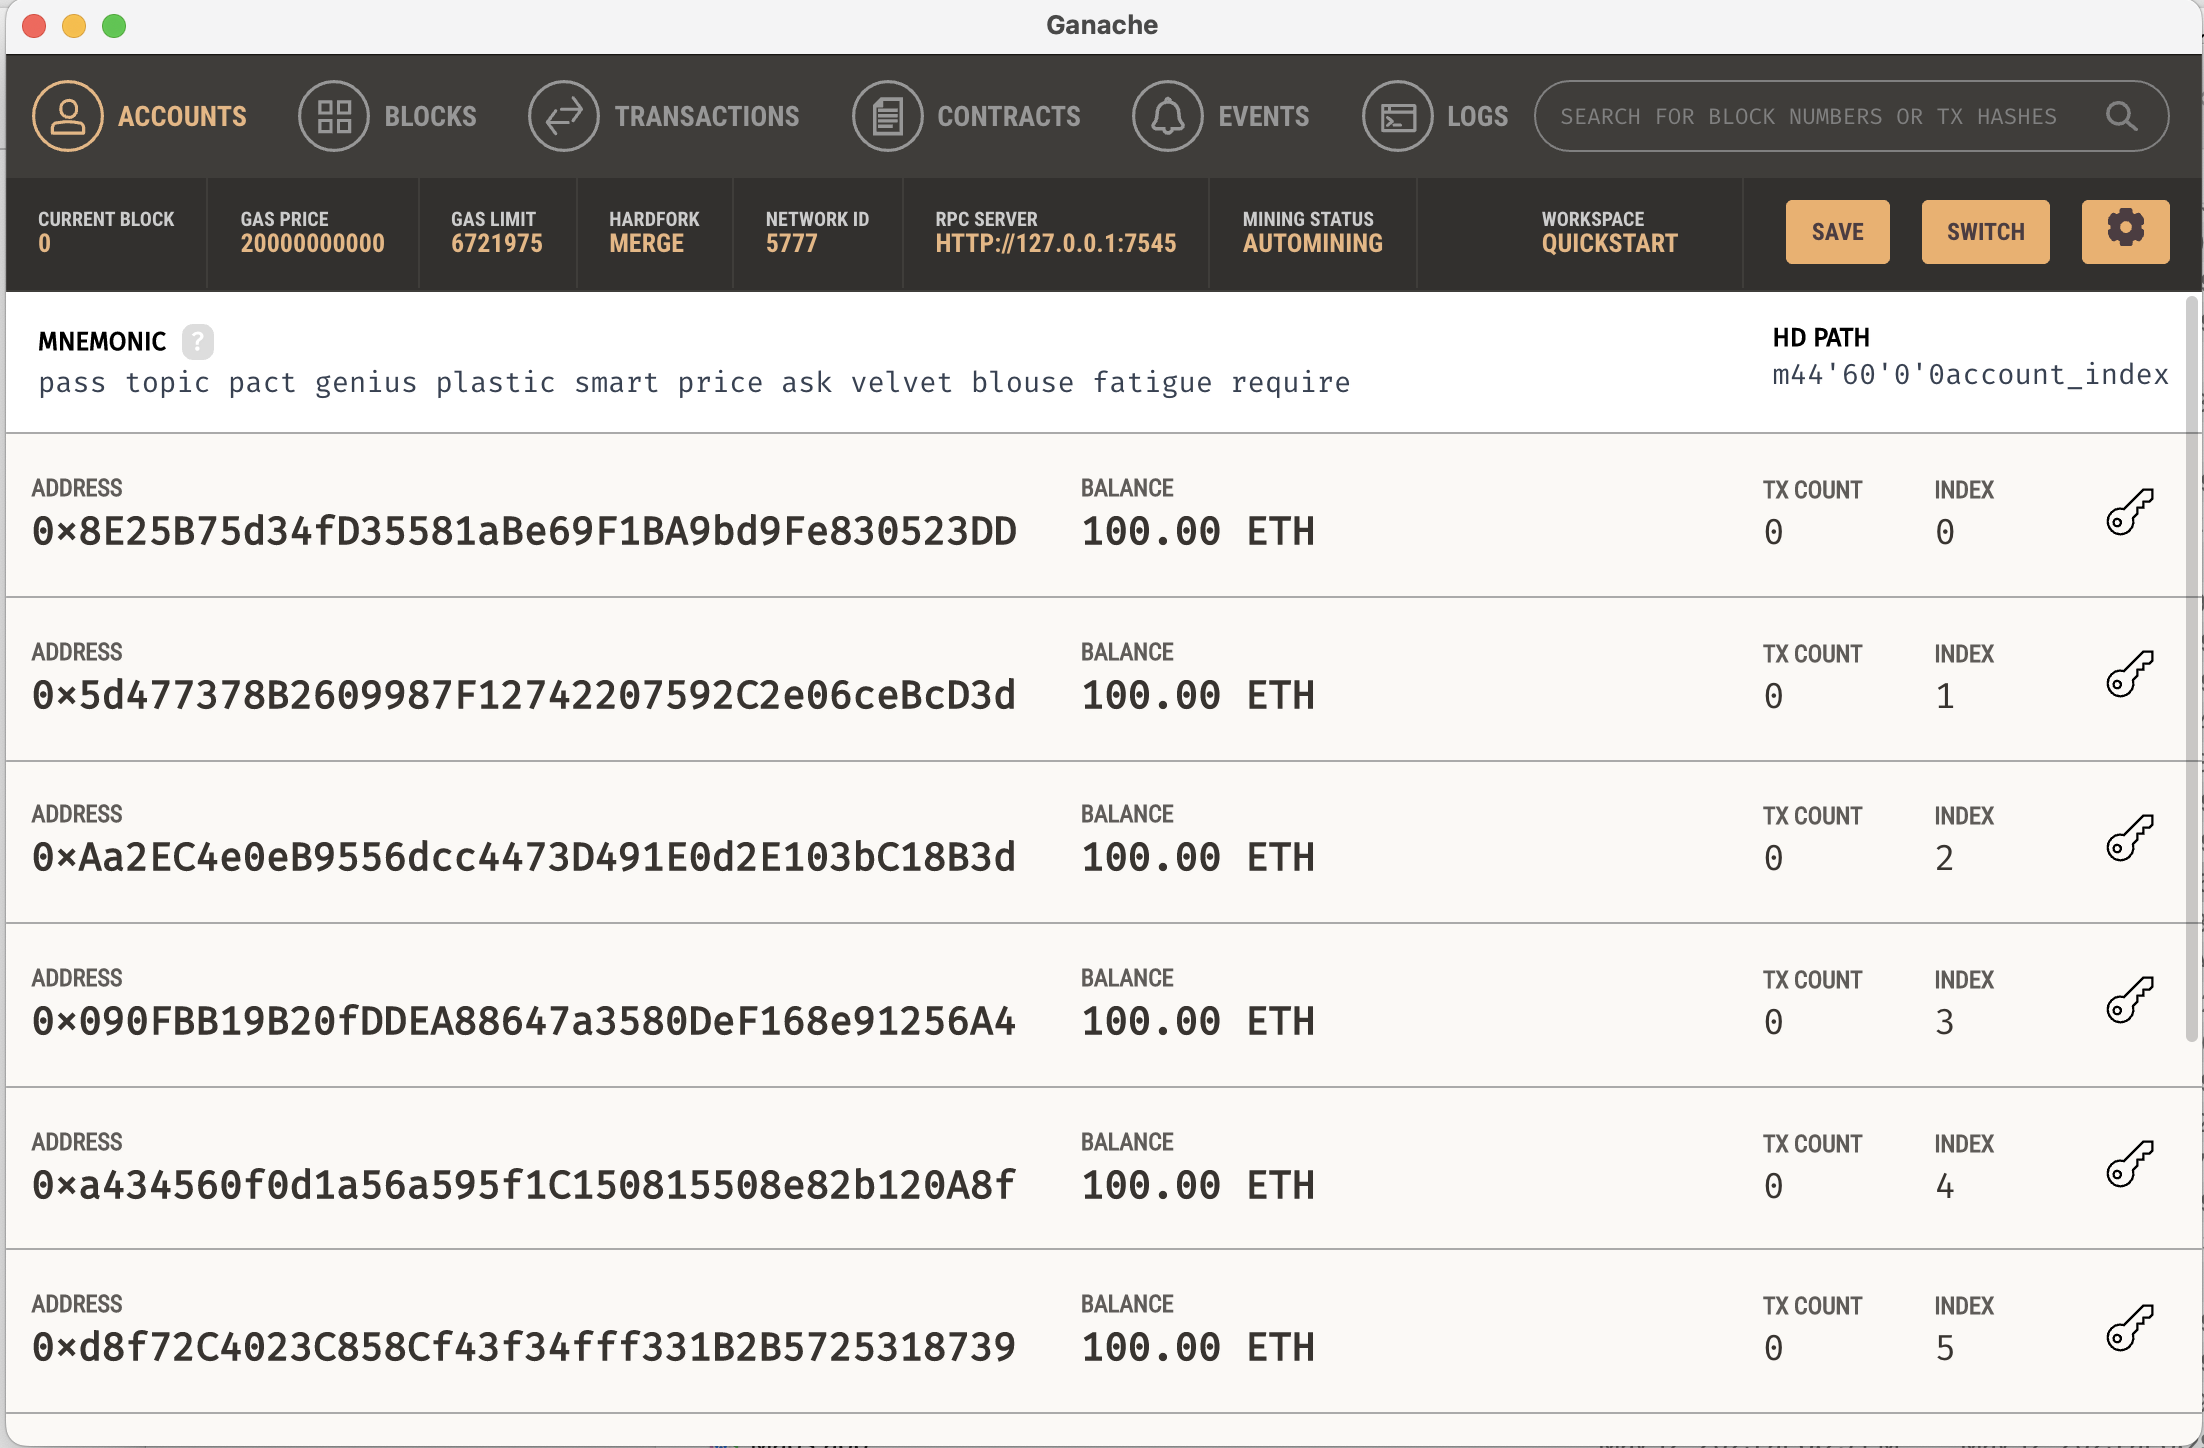
Don't worry if not much of this makes any
sense. It will all make very good sense over the next
several weeks as we talk about HD wallets and mnemonics (tres
cool). Speaking of which, your account addresses,
mnemonics, etc., will all be different. But the
structure of the ganache screen will be the same, including
the current block (0), Gas Price and Limit, Merge hard fork,
network id (5777) and RPC Server (HTTP://127.0.0.1:7545),
automining on, etc. And, by the way, you're Rich!
You've got 10 accounts each with 100.00 ETH in them!
That's 1,000 ETH. The good news is that ETH is currently
trading around $1,800 per coin. That's just shy of $2MM
clams. The bad news, of course, is that you're rich in
only monopoly money, so you're just as poor as when you
started this lab. C'est la vie. We will be using
Ganache as our own little private ethereum blockchain
playground, where we can write smart contracts using truffle
and solidity, and deploy them onto our ganache
playground. And although you're not rich, at least it
won't cost you a penny (or Gwei) to deploy and run your Dapps.
VISUAL STUDIO CODE:
Finally, we will benefit from an integrated
development environment so our solidity coding will be a
little easier (at least compared to vi). For this,
we're turning to the Dark Side. Visit
https://code.visualstudio.com/ and you'll see something like
this:
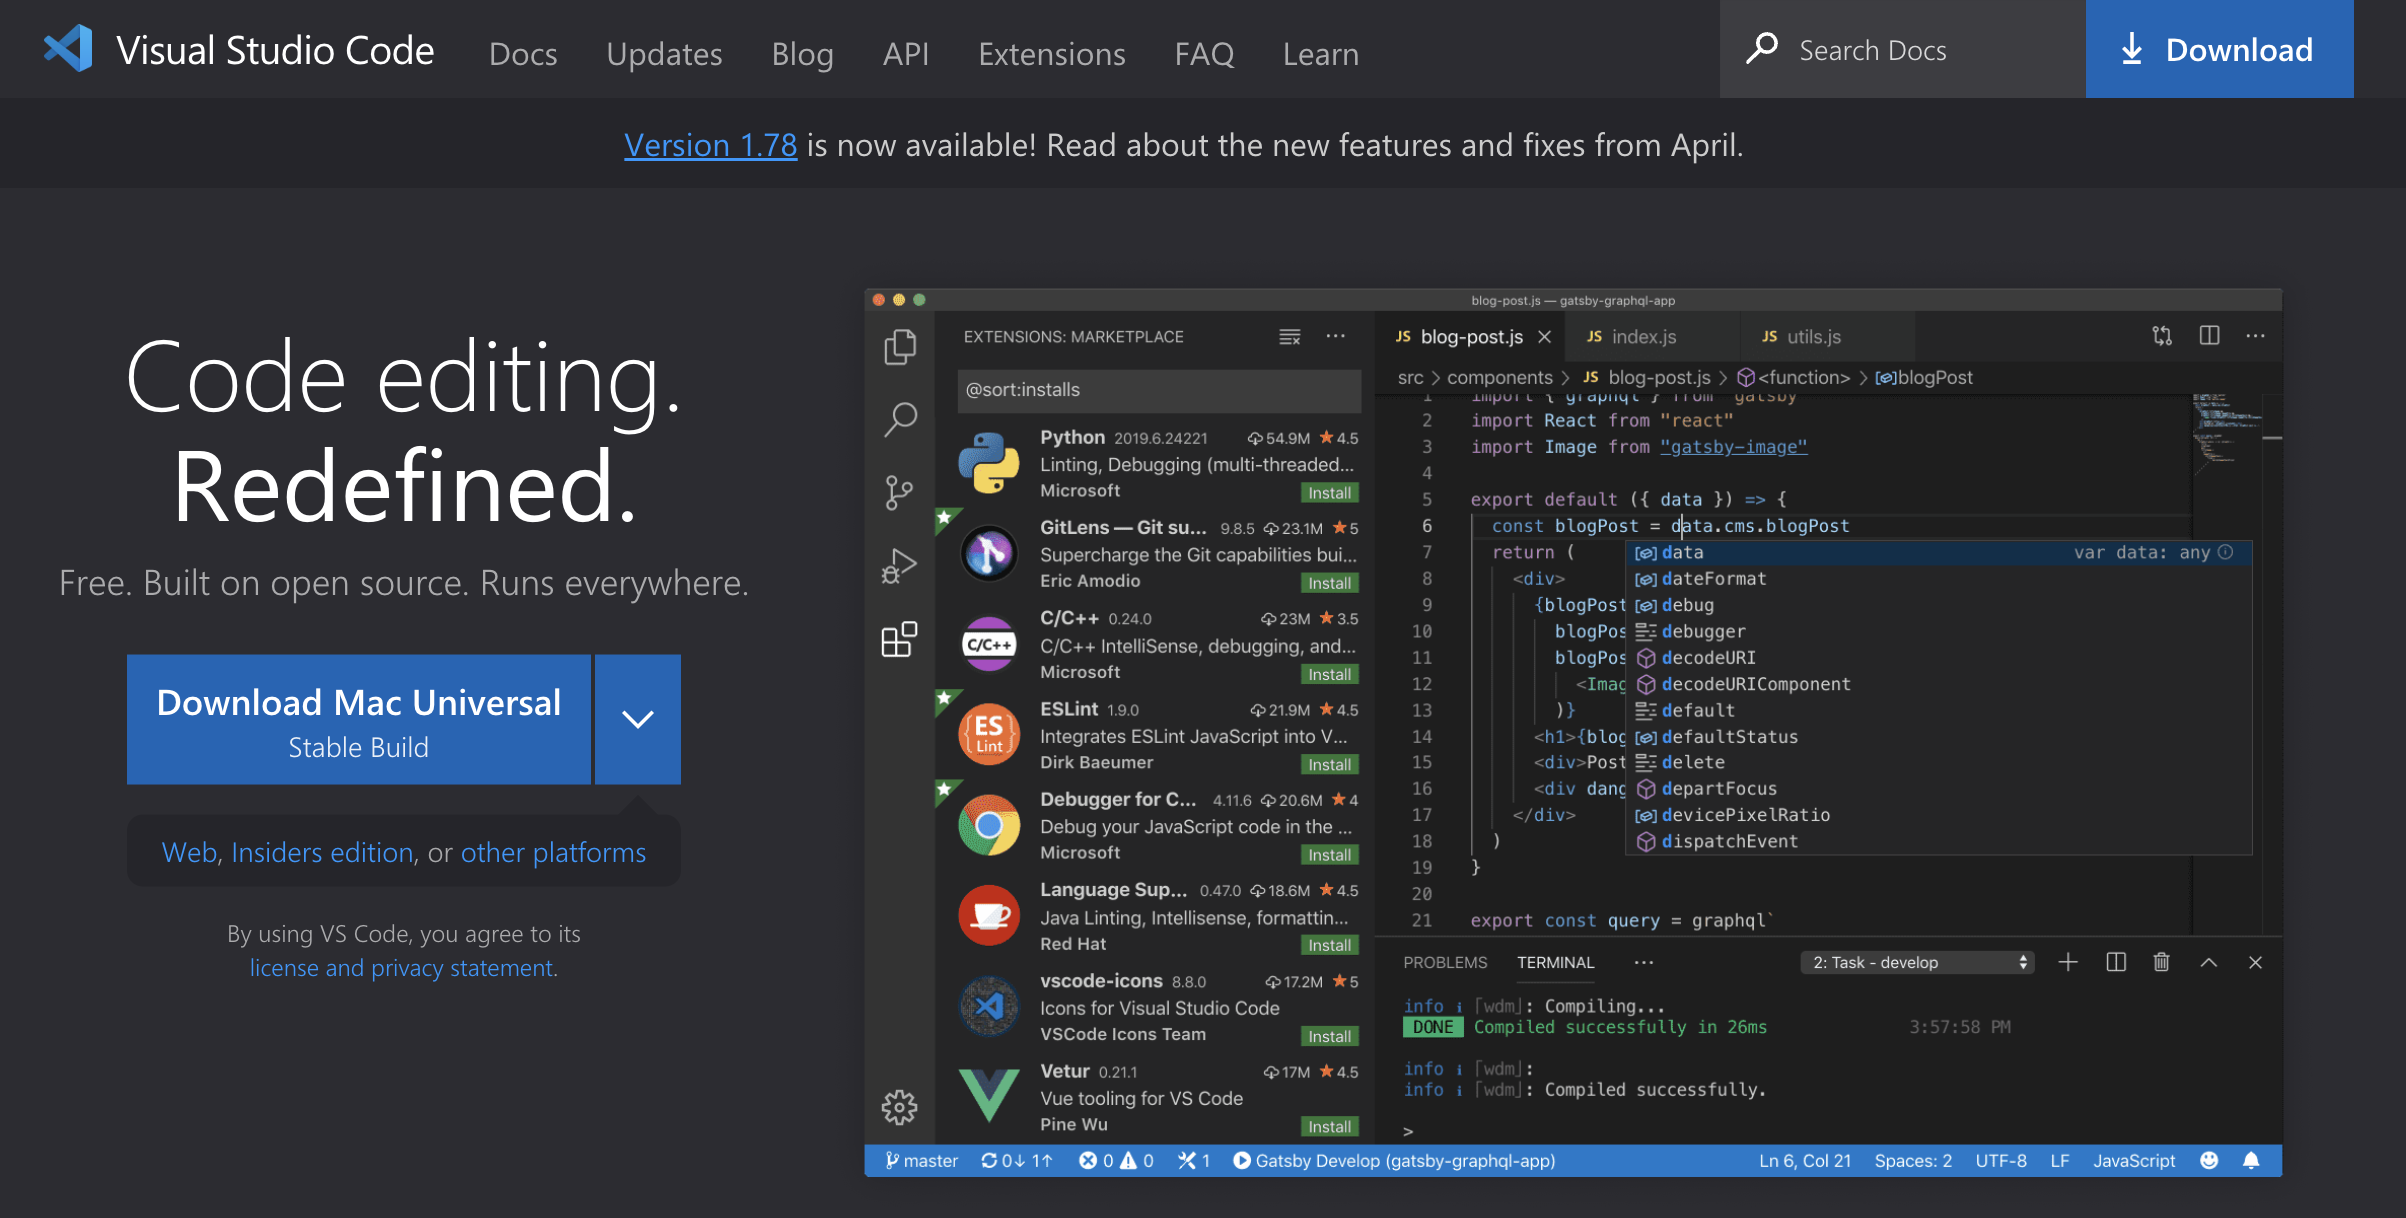
Click on "Download Mac Universal Stable Build" and
install VS Code. After the download is complete, go to
your Downloads folder and double click on the zip file (e.g.,
VSCode-darwin-universal.zip). Once the zip file has
expanded, move the executable "Visual Studio Code.app" into
your /Applications directory. Go ahead and launch it
from your Applications directory. Note if you get a warning that the app is
an app downloaded from the internet, just choose to Open it
anyway. Once it opens, you should see the default VS
Code screen that looks like this:

At this point, you can close the app as we're done
with it for now. We'll be coding inside it soon enough.
Now,
let's install geth, clef, and prysm:
In
order to actually run a "real" ethereum blockchain (as one peer
node among many), we need some serious tools to do so. We
will need to run an execution node (which manages the
"pre-merge" proof-of-stake blocks), a beacon node (which manages
the "post-merge" proof-of-stake blocks), and an account manager
(clef). Although we will not be running the actual
Ethereum mainnet blockchain, we will be utilizing the
current proof-of-stake testnet, known as Sepolia.
First,
go to https://geth.ethereum.org/downloads and scroll down until
you see Stable Releases. Choose the release for "Geth
& Tools 1.11.5" and click it to download. Once
downloaded, unzip the file and then cd into your downloaded
directory (e.g., cd geth-alltools-darwin-amd64-1.11.5-a38f4108)
and then issue the following commands at the terminal prompt:
$ sudo mkdir -p /usr/local/ethereum/bin
$ sudo cp * /usr/local/ethereum/bin/
Then,
update your PATH variable in your configuration file (e.g.,
.bashrc) to include the new directory "/usr/local/ethereum/bin"
and restart your terminal(s) to include the newly-updated PATH.
Plug
in your external drive (you can use the same external drive you
may have used for bitcoin above). My external drive's name
is set to "Ethereum" for the instructions below (if you wish to
name your drive something else that's fine but you will have to
make adjustments to the directory instructions below, which is
fine if that's what you wish or need). NOTE: If
your external drive is ExFAT, you will want to
repartition/format it to Mac OS Extended (Case Sensitive,
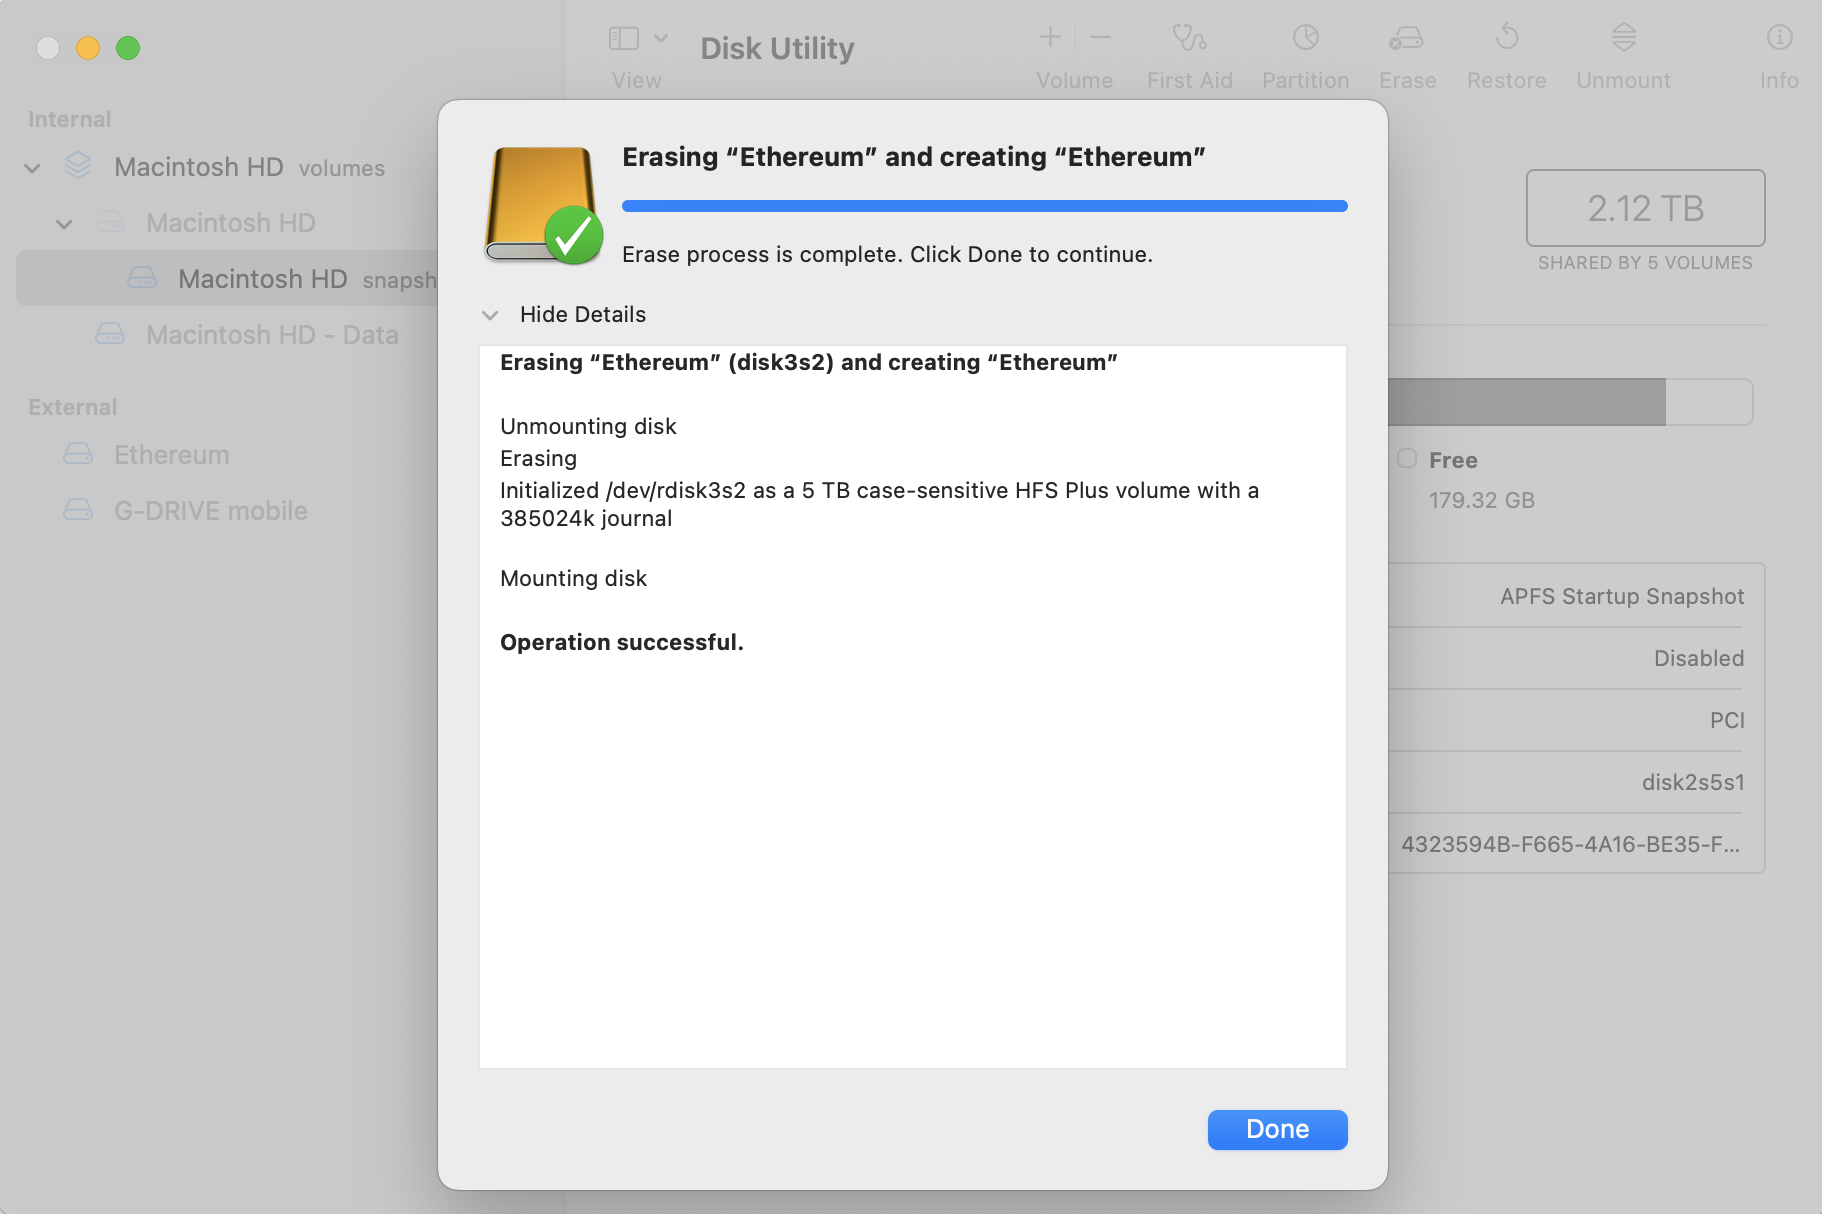
Journaled). Otherwise, your mileage may vary. If
you need to reformat your external drive, run Disk Utility
from the /Applications/Utilities folder and choose to Erase
your external drive. MAKE SURE you've selected your
external drive and not your default hard drive! Make
sure you reformat your drive (by "erasing" it) to use Mac OS
Extended (Case-sensitive, Journaled):

Once
erased (and reformatted), it will look like this:
MKDIR:
Plug
in your external drive if it's not already plugged in and change
to your new /Volumes/Ethereum directory (we are assuming your
laptop computer doesn't have a few Terabytes free of course...),
and enter the following commands:
$ mkdir -p
/Volumes/Ethereum/myEthereum
$ mkdir -p
/Volumes/Ethereum/Ethereum
$ mkdir -p /Volumes/Ethereum/Eth2
Now, cd to your /Volumes/Ethereum/myEthereum
subdirectory:
$ cd /Volumes/Ethereum/myEthereum
Now, cd to your /Volumes/Ethereum/myEthereum subdirectory and create a few new subdirectories:
$ mkdir clef execution consensus
$ mkdir consensus/prysm
Now,
cd to your Library directory under your home directory:
$ cd
~/Library
Now,
we're going to create two symbolic links out to your external
drive (again, assuming your external drive is mounted under
/Volumes/Ethereum):
$ ln -s /Volumes/Ethereum/Eth2
./Eth2
When
you are all done, you should have a directory structure that
looks like this:
Under
/Volumes/Ethereum, you should have these subdirectories (you can
confirm by issuing the command "find /Volumes/Ethereum"):
/Volumes/Ethereum/myEthereum
/Volumes/Ethereum/myEthereum/clef
/Volumes/Ethereum/myEthereum/consensus
/Volumes/Ethereum/myEthereum/consensus/prysm
/Volumes/Ethereum/myEthereum/execution
/Volumes/Ethereum/Ethereum
/Volumes/Ethereum/Eth2
Under
your Library subdirectory under your home directory, you should
have these subdirectories (you can confirm by issuing the
command "find /Volumes/Ethereum"):
~/Library/Eth2
(symlink to /Volumes/Ethereum/Eth2)
Please
confirm that your directory structure matches the above.
Now,
when we launch geth (a few steps below), it will write the
blockchain out to our externally mounted volume (and not to our
local laptop or desktop drive).
CLEF:
Let's
start with clef. You should already have clef installed
from your installation of geth tools above. If you type:
$ which clef
You
should see the following output:
/usr/local/ethereum/bin/clef
Now,
change to your new clef subdirectory (/Volumes/Ethereum/myEthereum/clef).
You
can now execute clef to create a new keystore:
$ clef newaccount --keystore ./keystore
If
you are prompted to enter a password, enter an alphanumeric
password (remember it). Once you've created your new
keystore, execute clef:
$ clef --keystore
/Volumes/Ethereum/clef/keystore --configdir
/Volumes/Ethereum/clef/clef --chainid 11155111
That
chainid of 11155111 indicates that this is targeting the Sepolia
testnet. If successful, you should see output similar to
the following:
WARNING!
Clef is an account management tool. It may, like any software,
contain bugs.
Please take care to
- backup your keystore files,
- verify that the keystore(s) can be opened with your password.
Clef is distributed in the hope that it will be useful, but
WITHOUT ANY WARRANTY;
without even the implied warranty of MERCHANTABILITY or FITNESS
FOR A PARTICULAR
PURPOSE. See the GNU General Public License for more details.
Enter 'ok' to proceed:
[At this point, go ahead and type "ok" and press enter]:
> ok
INFO [05-24|13:36:20.702] Using CLI as UI-channel
INFO [05-24|13:36:20.918] Loaded 4byte
database
embeds=268,621 locals=0 local=./4byte-custom.json
WARN [05-24|13:36:20.979] Failed to open master, rules
disabled err="failed stat on
/Volumes/Ethereum/clef/masterseed.json: stat
/Volumes/Ethereum/clef/masterseed.json: no such file or
directory"
INFO [05-24|13:36:20.979] Starting
signer
chainid=11,155,111 keystore=/Volumes/Ethereum/keystore
light-kdf=false advanced=false
INFO [05-24|13:36:21.053] Audit logs
configured
file=audit.log
INFO [05-24|13:36:21.054] IPC endpoint
opened
url=/Volumes/Ethereum/clef/clef.ipc
------- Signer info -------
* intapi_version : 7.0.1
* extapi_version : 6.1.0
* extapi_http : n/a
* extapi_ipc : /Volumes/Ethereum/clef/clef.ipc
------- Available accounts -------
0. 0x793581955c00FB4702ff94Dc2582198a6a4639F8 at
keystore:///Volumes/Ethereum/keystore/UTC--2023-04-11T16-13-20.300385000Z--793580955c00fb2509ff94dc2582198a8a4609f8
If you see this type of output (your available accounts will
differ), congratulations, you've got clef up and running.
Note that first password (#0): 0x793581955c00FB4702ff94Dc2582198a6a4639F8. That is your new account number. Your going to
need this in a few minutes.
Finally,
we're going to install geth. geth is short for
go-ethereum, which is an ethereum blockchain client written in
the Go programming language. It's popular, so we're going
to use it. Geth will manage our execution node for us,
meaning that it will handle transactions, deployment and
execution of smart contracts and also will run the Ethereum
Virtual Machine. We can run geth along with a consensus
client (prysm) and it will turn your computer into an Ethereum
node (at least for the Sepolia testnet).
Next,
we're going to change to our prysm subdirectory:
$ cd /Volumes/Ethereum/ethereum/consensus/prysm
Then, you need to create a JWT secret file. To
do so, go here: seanwasere.com:
Generate Random 256 bit 32 Byte Hex and copy the hex
number and save it to a file called jwt.hex
in your prysm subdirectory.
Now,
change to your "execution" subdirectory you created in the MKDIR
step above (/Volumes/Ethereum/ethereum/execution).
Execute the following command:
$ geth --sepolia --authrpc.addr
localhost --authrpc.port 8551 --authrpc.vhosts localhost
--authrpc.jwtsecret
/Volumes/Ethereum/myEthereum/consensus/prysm/jwt.hex --http
--http.api eth,net,engine,admin
--signer=/Volumes/Ethereum/clef/clef/clef.ipc --http
This
will start downloading the blocks in the ethereum testnet
Sepolia that are pre-merge. Depending on your download
speed, bandwidth and latency, etc., this could take anywhere
from several hours to several days to accomplish.
You
can find the starting output here. As long as your
output looks sort of like this file you're on your way with geth
(don't panic about any errors about post-merge networks and no
beacon clients or dropping unsynced nodes or ...that's normal
for right now). Note also that your peercount (see
output) will need to increase dramatically (>20) before you
really begin to see much progress in downloading the sepolia
testnet blockchain.
PRYSM:
Next,
we're going to install prysm, which is our Proof-of-Stake Beacon
node:
$ cd /Volumes/Ethereum/myEthereum/consensus/prysm
$ curl
https://raw.githubusercontent.com/prysmaticlabs/prysm/master/prysm.sh
--output prysm.sh && chmod +x prysm.sh
Now,
we have to get down the genesis state from the cluster.
Execute:
$ scp
[YourLoginID]@linux.cs.uchicago.edu:/home/mark/pub/56605/genesis.ssz
.
NOTE:
If you do not yet have CS cluster access or login
credentials, note the genesis.ssz file has been placed on our
course Canvas site under Files/Genesis/genesis.ssz.
Click on Files, then the directory called Genesis, then
download the genesis.ssz file to the directory mentioned above.
With
our jwt.hex file created above and our newly downloaded prysm.sh
script and genesis.ssz, we're now ready to launch our beacon
client (NOTE: change the suggested-fee-recipient to
your first (0th) available accounts output from clef above):
./prysm.sh beacon-chain
--execution-endpoint=http://localhost:8551 --sepolia
--suggested-fee-recipient=0x793581955c00FB4702ff94Dc2582198a6a4639F8 --jwt-secret=jwt.hex
--genesis-state=genesis.ssz
Note
that the suggested fee recipient is modified and bogus. If
you should get an error that gpg is not installed, install it
now:
$ brew install gpg
And
relaunch prysm as above. NOTE: prysm.sh has a bug in
that sometimes when it is shut down, the port stays
"used". If you get an error when trying to restart
prysm.sh such that "FATAL p2p:
Failed to start discovery error=could not create listener:
could not listen to UDP: listen udp 0.0.0.0:12000: bind:
address already in use", you're just going to have to
shut everything down (clef, geth) and reboot your
computer. It sucks and is inexcusable but that's the only
way to get prysm restarted.
You can find the starting output here.
As long as your output looks sort of like this file you're on
your way with geth (don't panic about any errors such as the
following:
ERROR powchain: Unable to process past deposit contract logs, perhaps your execution client is not fully synced error=processPastLogs: no contract code at given address
This
is normal (and accurate...your execution client (geth) actually
is not full synced!).
RESOURCE:
Quickstart:
Run a node and (optionally) stake ETH using Prysm | Prysm
(prylabs.network)
AT THIS POINT, THE SEPOLIA TESTNET SHOULD BE IN THE PROCESS OF BEING DOWNLOADED. THIS CAN TAKE SEVERAL DAYS.
You
can check on the progress of the download activity by executing
the following command in a new window:
$ curl
http://localhost:3500/eth/v1/node/syncing | jq
While it's syncing, you will see output like this:
$ curl http://localhost:3500/eth/v1/node/syncing
| jq
% Total % Received % Xferd
Average Speed Time
Time Time Current
Dload Upload Total
Spent Left Speed
100 113 100
113 0 0
15458 0 --:--:-- --:--:--
--:--:-- 110k
{
"data": {
"head_slot": "2879",
"sync_distance": "2555446",
"is_syncing": true,
"is_optimistic": false,
"el_offline": true
}
}
While it's still syncing (after waiting a few minutes...or hours...), you will see output like this:
$ curl
http://localhost:3500/eth/v1/node/syncing | jq
% Total % Received % Xferd
Average Speed Time
Time Time Current
Dload Upload Total
Spent Left Speed
100 114 100
114 0 0
14096 0 --:--:-- --:--:--
--:--:-- 57000
{
"data": {
"head_slot": "816095",
"sync_distance": "1300241",
"is_syncing": true,
"is_optimistic": true,
"el_offline": true
}
}
As your testnet is syncing to your local external drive, you
will see (if you run the above curl command over and over
periodically), several things occurring in the data
oputput. First, the number denoted by the "head_slot" is
slowly getting larger. This indicates your local chain is
growing (downloading). Second, you will notice that the
"sync_distance" number is getting smaller, this indicates that
as your download of the testnet blockchain advances, you're
getting closer and closer to the end of the chain (the
"head"). Finally, you will see that the "is_syncing"
indicator is "true". This means that your local chain is
indeed downloading and is currently syncing. Again, it may
take days to fully finish syncing.
At
the end, when your Sepolia testnet is all 100% synced, you will
see output like this (not in color of course):
$ curl http://localhost:3500/eth/v1/node/syncing | jq
% Total % Received % Xferd
Average Speed Time
Time Time Current
Dload Upload Total
Spent Left Speed
100 112 100
112 0 0
29755 0 --:--:-- --:--:--
--:--:-- 109k
{
"data": {
"head_slot": "2124218",
"sync_distance":
"0",
"is_syncing": false,
"is_optimistic": false,
"el_offline": false
}
}
Notice that the "head_slot" is a large number
(the current head of the testnet blockchain--yours will be
slightly larger than the 2124218 number above), and the
"sync_distance" is now 0 (indicating there's no blocks left to
sync), and "is_syncing" is now set to "false". This all
indicates that you have downloaded the full Sepolia chain.
If
you've made it this far, that's far enough for now. Have a
cup of tea.
You
may
find the following references helpful (in addition to the links
from previous labs):
Installing
Bitcoin Core on ubuntu: https://bitzuma.com/posts/getting-started-with-bitcoin-core-on-ubuntu/,
and: https://linuxhint.com/install-bitcoin-core-ubuntu/
Installing Bitcoin Core on Windoze: https://www.deepdotweb.com/2017/05/05/tutorial-start-full-bitcoin-node-windows/
Blockchain Information (Bitcoin): https://blockchain.info
Coindesk Blockchain 101: https://www.coindesk.com/information/
Bitcoin Wiki: https://en.bitcoin.it/wiki/Main_Page
Bitcoin FAQ: https://en.bitcoin.it/wiki/Help:FAQ
Bitcoin Developer's Reference: https://bitcoin.org/en/developer-reference
Ethereum Node Quickstart: Quickstart:
Run a node and (optionally) stake ETH using Prysm | Prysm
(prylabs.network)
Execute the following command:
ls -laF ~/.bitcoin/* > ~/lab.1.BC.out.txt
ls -laF /Volumes/Ethereum/* > ~/lab.1.ETH.out.txt
Upload your lab.1.BC.out.txt and lab.1.ETH.out.txt
output files to GitHub Classroom according to the instructions
below.
In this course, we are going to use GitHub Classroom, a
service that makes it easy to create coursework repositories.
Task 1
Get a Guthub account. If you already have a GitHub account,
please move on to the next step.
If you do not have a GitHub account please create one one now.
You can get an account here: https://github.com/join. We
encourage you to use your CNetID as your GitHub account name, if
possible. If that name is already taken, try using your CNetID
as a prefix in your Github username.
Task 2
Open a browser window and log into Github. We would recommend
you connect your local SSH to your GitHub account. This will
require you to create an ssh key and add it to your GitHub
account. Follow the steps here for creating a new SSH key: https://docs.github.com/en/authentication/connecting-to-github-with-ssh/generating-a-new-ssh-key-and-adding-it-to-the-ssh-agent#generating-a-new-ssh-key.
Then complete the addition of the key to your account by
following the steps here: https://docs.github.com/en/authentication/connecting-to-github-with-ssh/adding-a-new-ssh-key-to-your-github-account#adding-a-new-ssh-key-to-your-account.
Note, you will want to leverage the SSH address, NOT the HTTPS
address, when setting your local lab directory's upstream remote
Git repository; this will be more clear when you accept an
invitation link for an assignment.
Task 3
We will be using a repository for each lab. We have provided
invitation URLs on Ed Discussion that you will use to request
your labs repository. The repository will be called
lab#-GITHUB_USERNAME inside our MPCS56605 organization on
GitHub. For example, for Lab1, if your GitHub username is jdoe,
the repository will be called lab1-jdoe. This repository will be
private, and can only be viewed by you and the MPCS56605 course
staff.
When you open the invitation URL in a browser tab, you will have
to complete the following steps:
Github may ask you to grant permission for GitHub Classroom to
have access to your GitHub account. If you are asked this
question, you should say yes and grant access to Github
Classroom.
You must click “Accept this assignment” or your repository will
not actually be created. Do not skip this step!
If you run into any issues, please ask for help.